

So, what is a Post-Tensioned (PT) Slab?
A post-tensioned slab is a structural element commonly used in buildings, bridges, and various infrastructure projects. PT slabs incorporate high-strength steel strands or cables that are tensioned after the concrete has been poured and cured. This process imparts compressive forces to the concrete, enhancing its load-carrying capacity and enabling architects and engineers to design longer spans and thinner sections.
And what are the benefits and challenges?
Post-tensioned slab advantages:
- Increased Span Lengths: PT slabs allow for longer spans, reducing the need for additional columns and supports and providing more flexible interior spaces.
- Thinner Sections: The enhanced load-carrying capacity of PT slabs enables the use of thinner sections, resulting in material savings and reduced dead weight.
- Cracking Control: The post-tensioning process helps control cracking in the concrete
Challenges:
- Increased planning time:
• Because there is limited allowable construction to the slab once poured, the planning and coordination time is significantly increased to ensure everything is located properly.
- Skilled labor requirement
• PT Slabs are a fairly new system relative to the typical slab-on-deck design,therefore finding skilled labor can be a challenge as well as additional labor cost.
The Construction Process: Step by Step
First of all – It’s worth noting all of our partners who helped make it happen:
- H&O Structural Engineering – Structural Engineer
- KLS Consulting Services – 3rd Party MEP Coordinator
- Monte French Design Studios – Project Architect
- G&C Concrete – Concrete Subcontractor
- UTS – 3rd Party Concrete Inspector
Stage 1 ~ Design and Planning:
Engineers determine the optimal layout of the PT cables, taking into consideration factors such as load distribution, structural integrity, and architectural requirements. It’s important that all of the design teams coordinate their layouts to reduce the number of clashes in the field. The RISE CM team partnered with KLS Consulting Servies, an MEP Coordinator, to assist with the mapping of the PT Slab to locate sleeves that would not interfere with the PT Cables.
KLS helped in coordinating directly with all of RISE CM’s subcontractors and published a final “single source of truth” drawing that mapped out the entire PT Slab. This document was then circulated to all trades on the project.
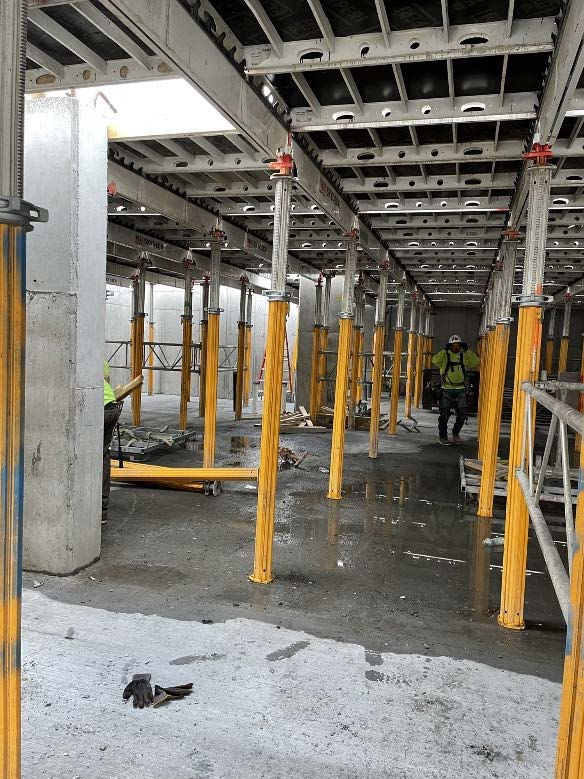
Stage 2 ~ Formwork Installation:
Formwork is set up to define the shape and dimensions of the slab. This framework will hold the concrete in place during pouring and curing.
Stage 3 ~ Cable Placement:
Once the formwork is in place, high-strength steel cables are arranged according to the design specifications. These cables will serve as the reinforcement for the slab.
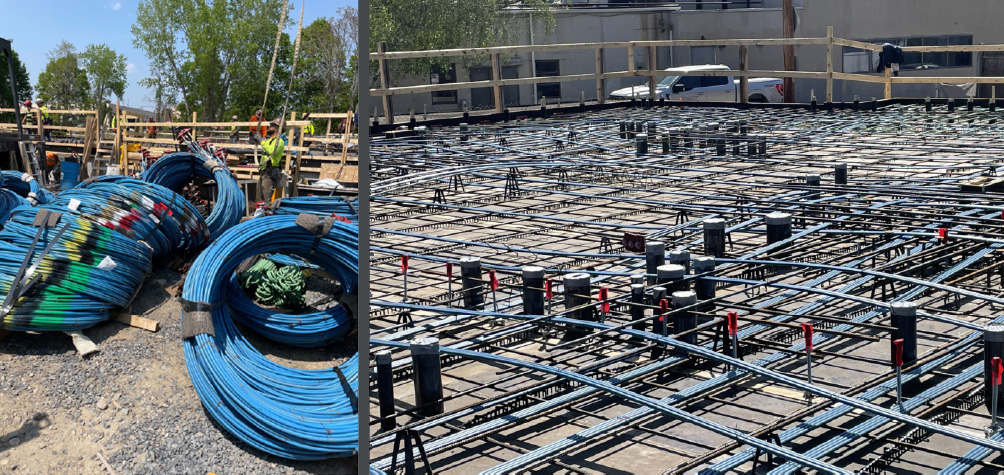
Stage 4 ~ Concrete Pouring:
The approved concrete mix is poured into the formwork, enveloping the steel cables. Careful attention is paid to achieving proper compaction and eliminating air voids.

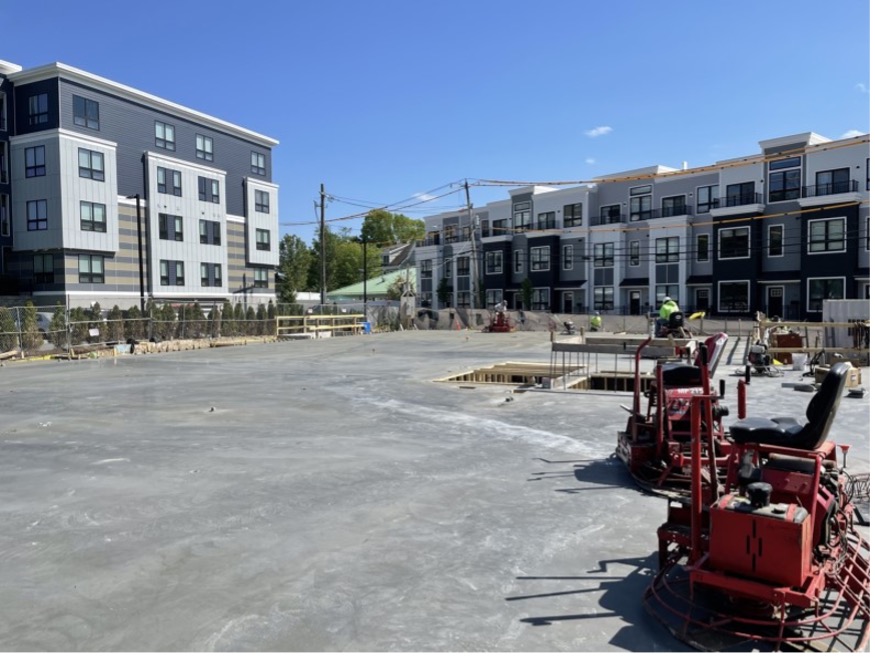
Picture from May 17th,the first pour of the slab!
Stage 5 ~ Curing and Tensioning:
After the concrete has achieved sufficient strength and has been signed off by UTS, the 3rd party concrete inspector, the tensioning process begins. Hydraulic jacks stretch the steel cables to a predetermined level of tension. This imparts compressive forces to the concrete, enhancing its load carrying capacity.
Stage 6 ~ Anchoring:
The tensioned cables are anchored to the structure at both ends, maintaining the desired tension in the cables.
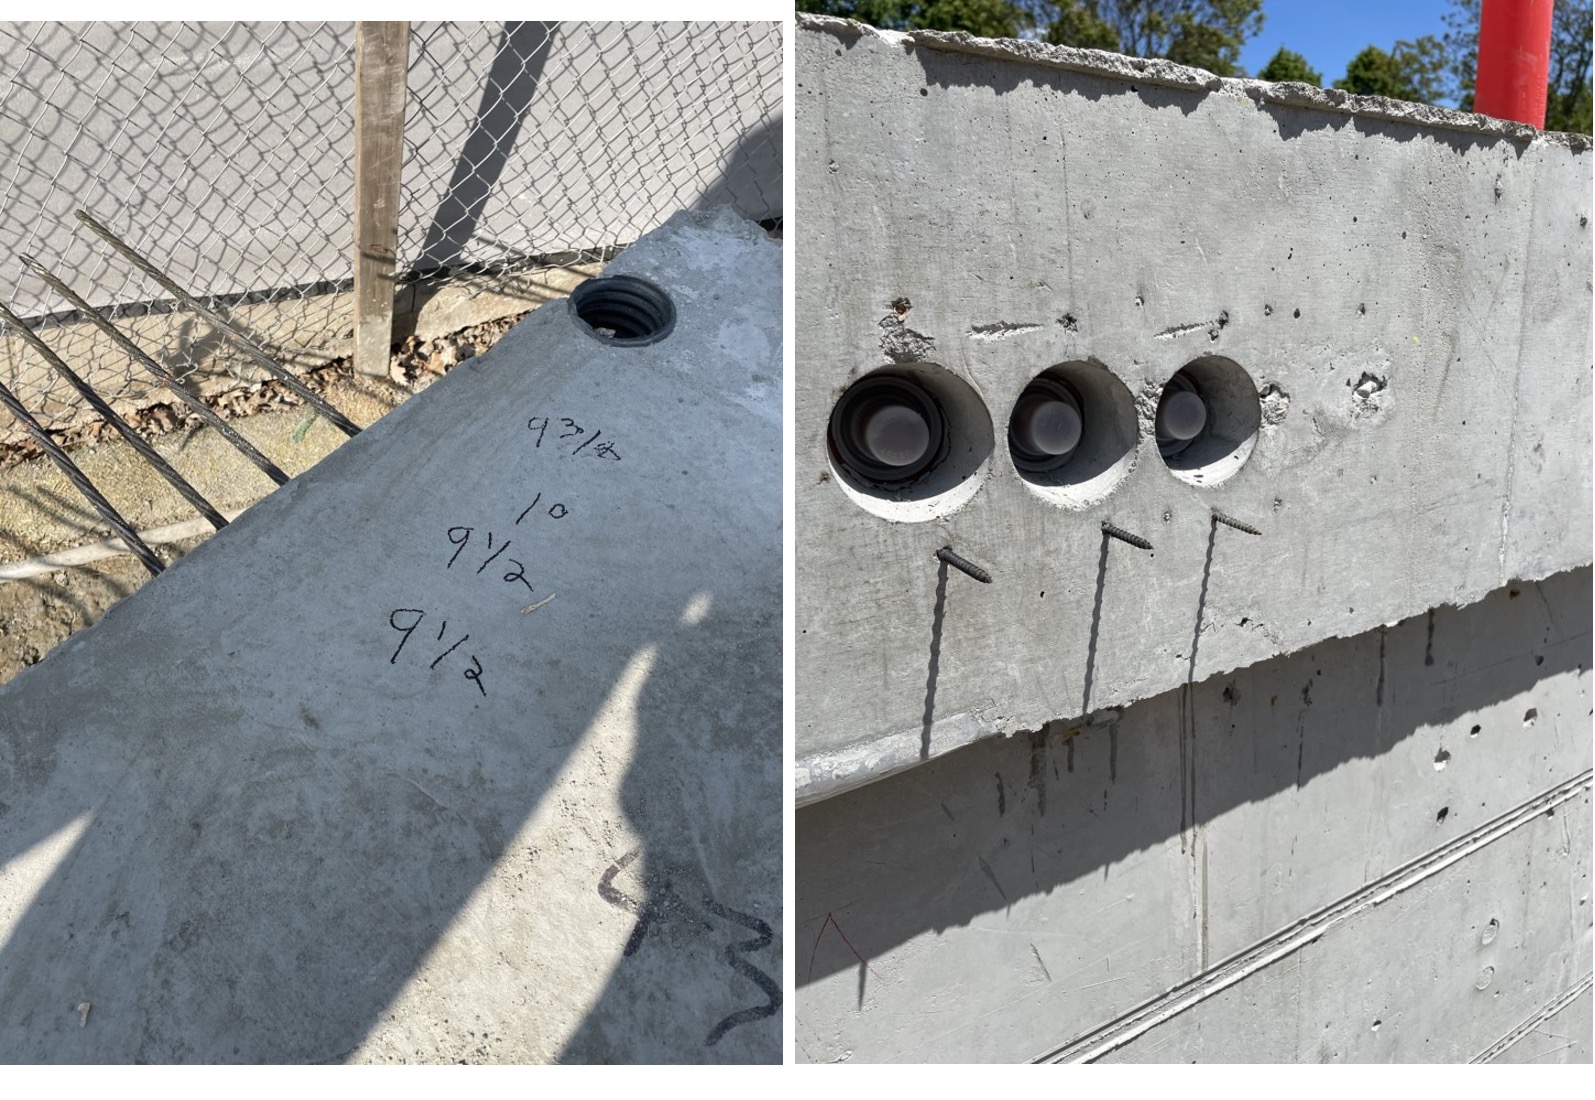
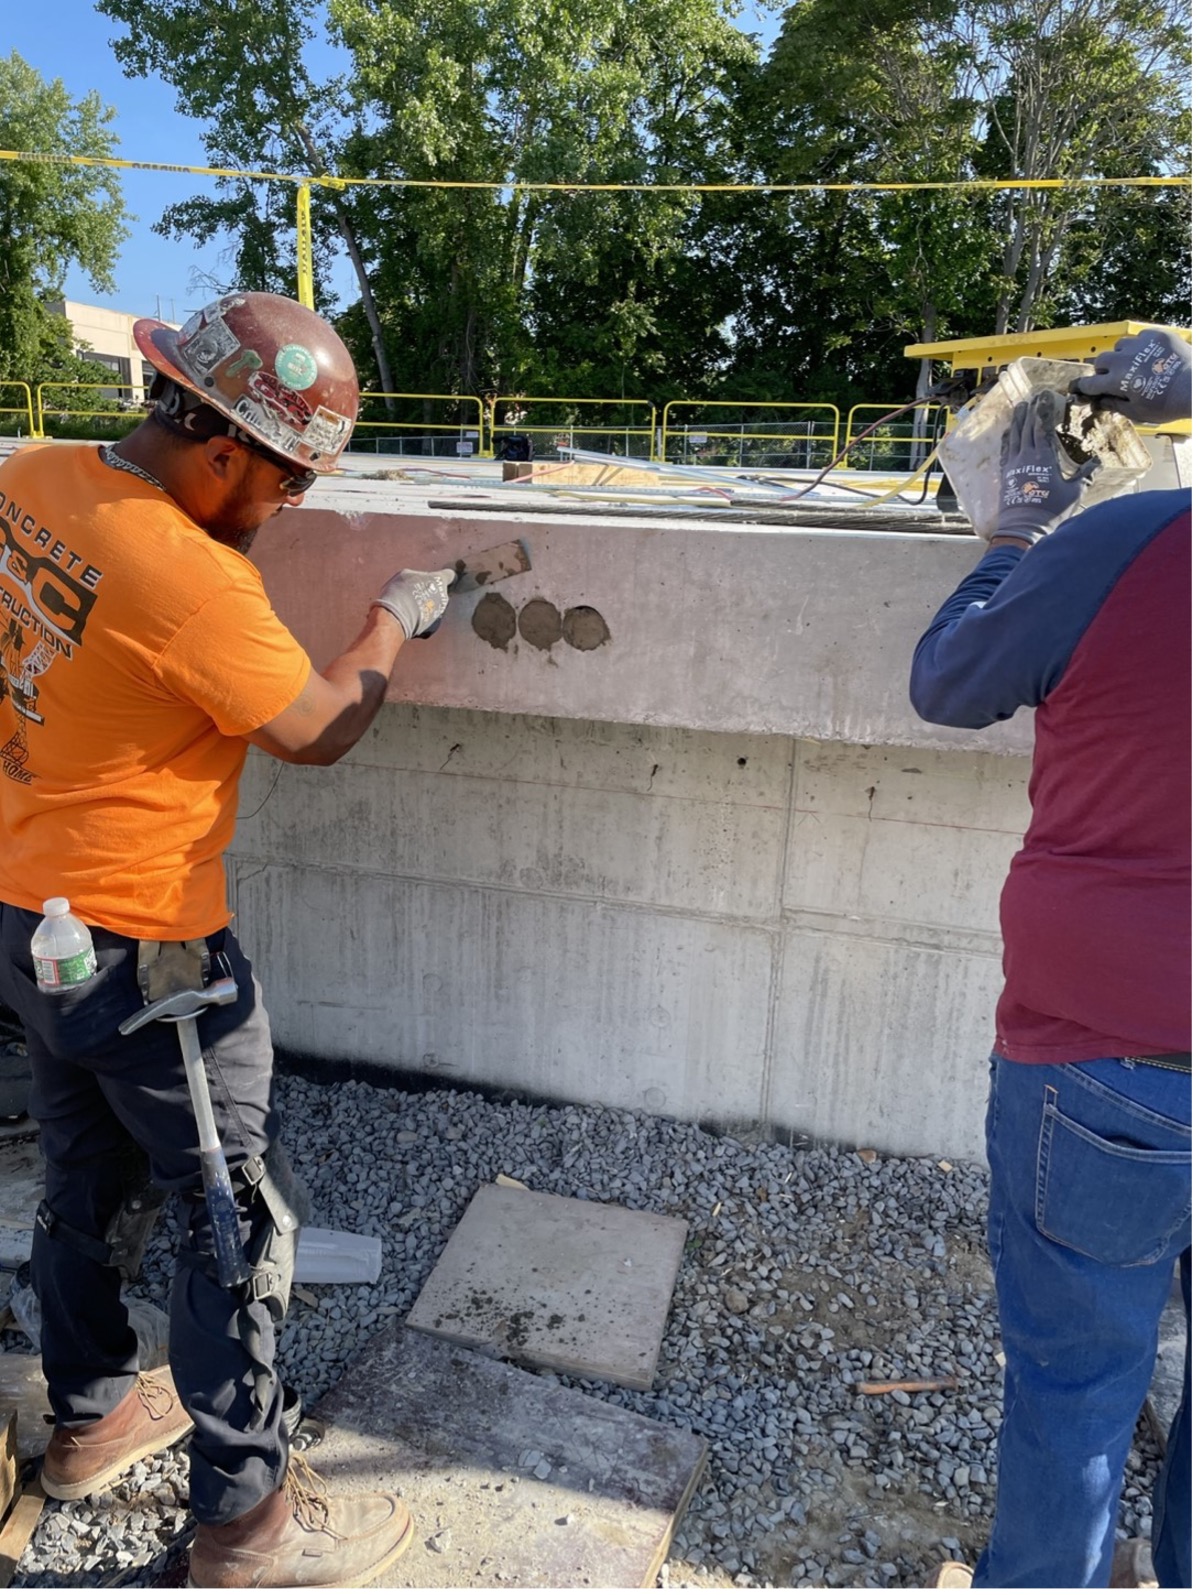
Stage 7 ~ Grouting:
Grout is injected into the ducts or sleeves that house the steel cables. This ensures corrosion protection and transfers the load from the cables to the concrete.
Stage 8 ~ Finishing Touches:
Once the grout has cured, the formwork is removed, and finishing touches such as surface coatings or flooring materials are applied.